.png)
Fiery Furnace Arches: Self-Guided Permit Hike, What to Expect
- Mar 20
- 4 min read
Updated: May 19
What This Is
The Fiery Furnace in Arches National Park is one of the only hikes in the park that requires a permit, which automatically makes it feel different from everything else you’ll do there. If you’ve already done the main trails like Delicate Arch or The Windows and want something that feels more off-grid without actually being remote, this is it. You can either go with a ranger or do it on your own if you’re confident navigating. I did it solo, and honestly, it was way more approachable than people make it sound.
This is less of a traditional “trail” and more of a maze through sandstone fins, arches, and narrow passages. That’s the appeal. You’re not just walking to a viewpoint, you’re moving through the landscape.

What It’s Like
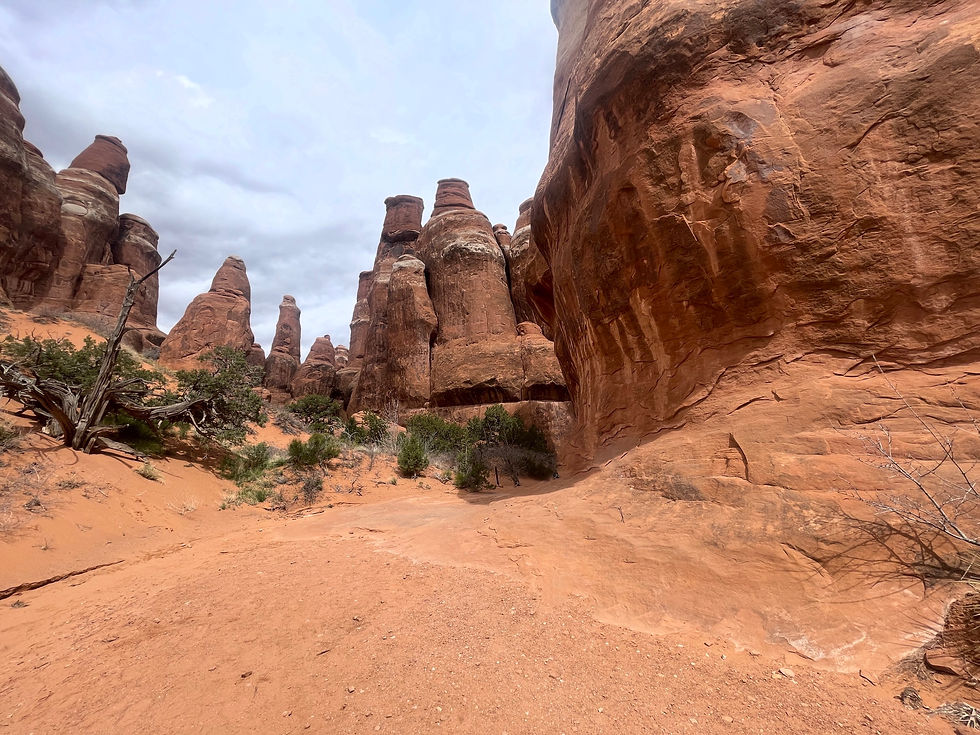
The Fiery Furnace is a network of narrow sandstone corridors, small arches, and winding paths that don’t always feel like a defined trail. You start out seeing the entire formation from the parking lot, which makes it feel manageable right away, but once you’re inside, it turns into more of a choose-your-own-route situation.
The rock you’re walking through is Entrada Sandstone, and when the light hits it, especially later in the day, everything glows red. That’s where the name “Fiery Furnace” comes from. It really does look like it’s lit from within.
There’s a mix of walking and light scrambling, nothing technical, but enough to keep it interesting. You’ll hit dead ends, backtrack a little, and then find your way again. That’s part of the experience. I didn’t run into many people at all, which made it feel way more secluded than the rest of Arches.
What Surprised Me
I expected navigation to be stressful, but it really wasn’t. There are markers, and the general flow makes sense once you’re in it. You can definitely go the wrong way briefly, but it’s not like you’re going to end up completely lost if you’re not paying attention.
Also, what they consider an “arch” in here is kind of funny. There are a lot of tiny or subtle formations that technically count, so it turns into this weird little scavenger hunt trying to spot them all.
The last stretch out felt a little anticlimactic. Once you leave the tighter formations, it’s just a straightforward walk back.
What to Know Before You Go
You need a permit to enter, and that’s what keeps the crowds down. You can either book a ranger-led hike or get a permit to go on your own at recreation.gov.
Navigation apps help. I used GAIA GPS with National Geographic Trails Illustrated maps downloaded (which they've removed since I wrote this post initially), which made it easy to track where I was in real time using satellite. You don’t have to rely on it, but it definitely adds peace of mind.
It gets hot. There’s very little shade, and the rock reflects heat. Even though the hike is only about 4 to 5 hours with stops, you still need to treat it like a desert hike and bring enough water. Using a backpack with a water reservoir is a great choice for this one.
How Long It Takes
Plan for about 4 to 5 hours total. That includes stopping, exploring, and figuring out routes. You could do it faster, but there’s no reason to rush this one. We stopped and ate a lunch at a nice overlook along the trail.
Who It’s For / Not For
If you’re generally active and comfortable hiking, this will feel easy. Like you may want to do something else after. It’s mostly walking with some light scrambling and no real exposure or height risk. If you’re expecting a clearly defined trail the entire time, this might feel frustrating. And if you don’t like route-finding at all, you’re better off doing the ranger-led version. For beginners, this is actually a solid intro to a “permitted” or slightly more adventurous hike without being physically demanding.
What I Didn’t Need
Honestly, nothing felt unnecessary. If I had to pick something, it would be my long sleeve sun shirt, but I’d still bring one every time. Even if you don’t wear it, it’s worth having.
Final Take
This is a good one to do at least once. It’s easy, different from the rest of Arches, and the permit system makes it feel more remote than it actually is. If you’re newer to hiking, this is a great way to try something that feels adventurous without being difficult. If you’re more experienced, it’s still worth doing, but you’ll probably want to pair it with another hike or activity the same day.
Why I Chose This
I had already done the major hikes in Arches like Delicate Arch and The Windows, and those felt crowded enough that I wanted something different. This was a way to still be in the park but have a quieter experience. It ended up being more about the experience of moving through the landscape than checking off a viewpoint.


Comments